1
Open the N9+ app and sign in.

Perform an Exam
Capture one or more skin images with the smartphone camera and identify the body location before saving the exam.
Use this page with the current N9+ app prompts, product labeling, organizational protocols, and clinician direction.
Use good lighting and focus. The image should provide both a clear close view and enough surrounding context to identify the area.
Step by step
Open the N9+ app and sign in.
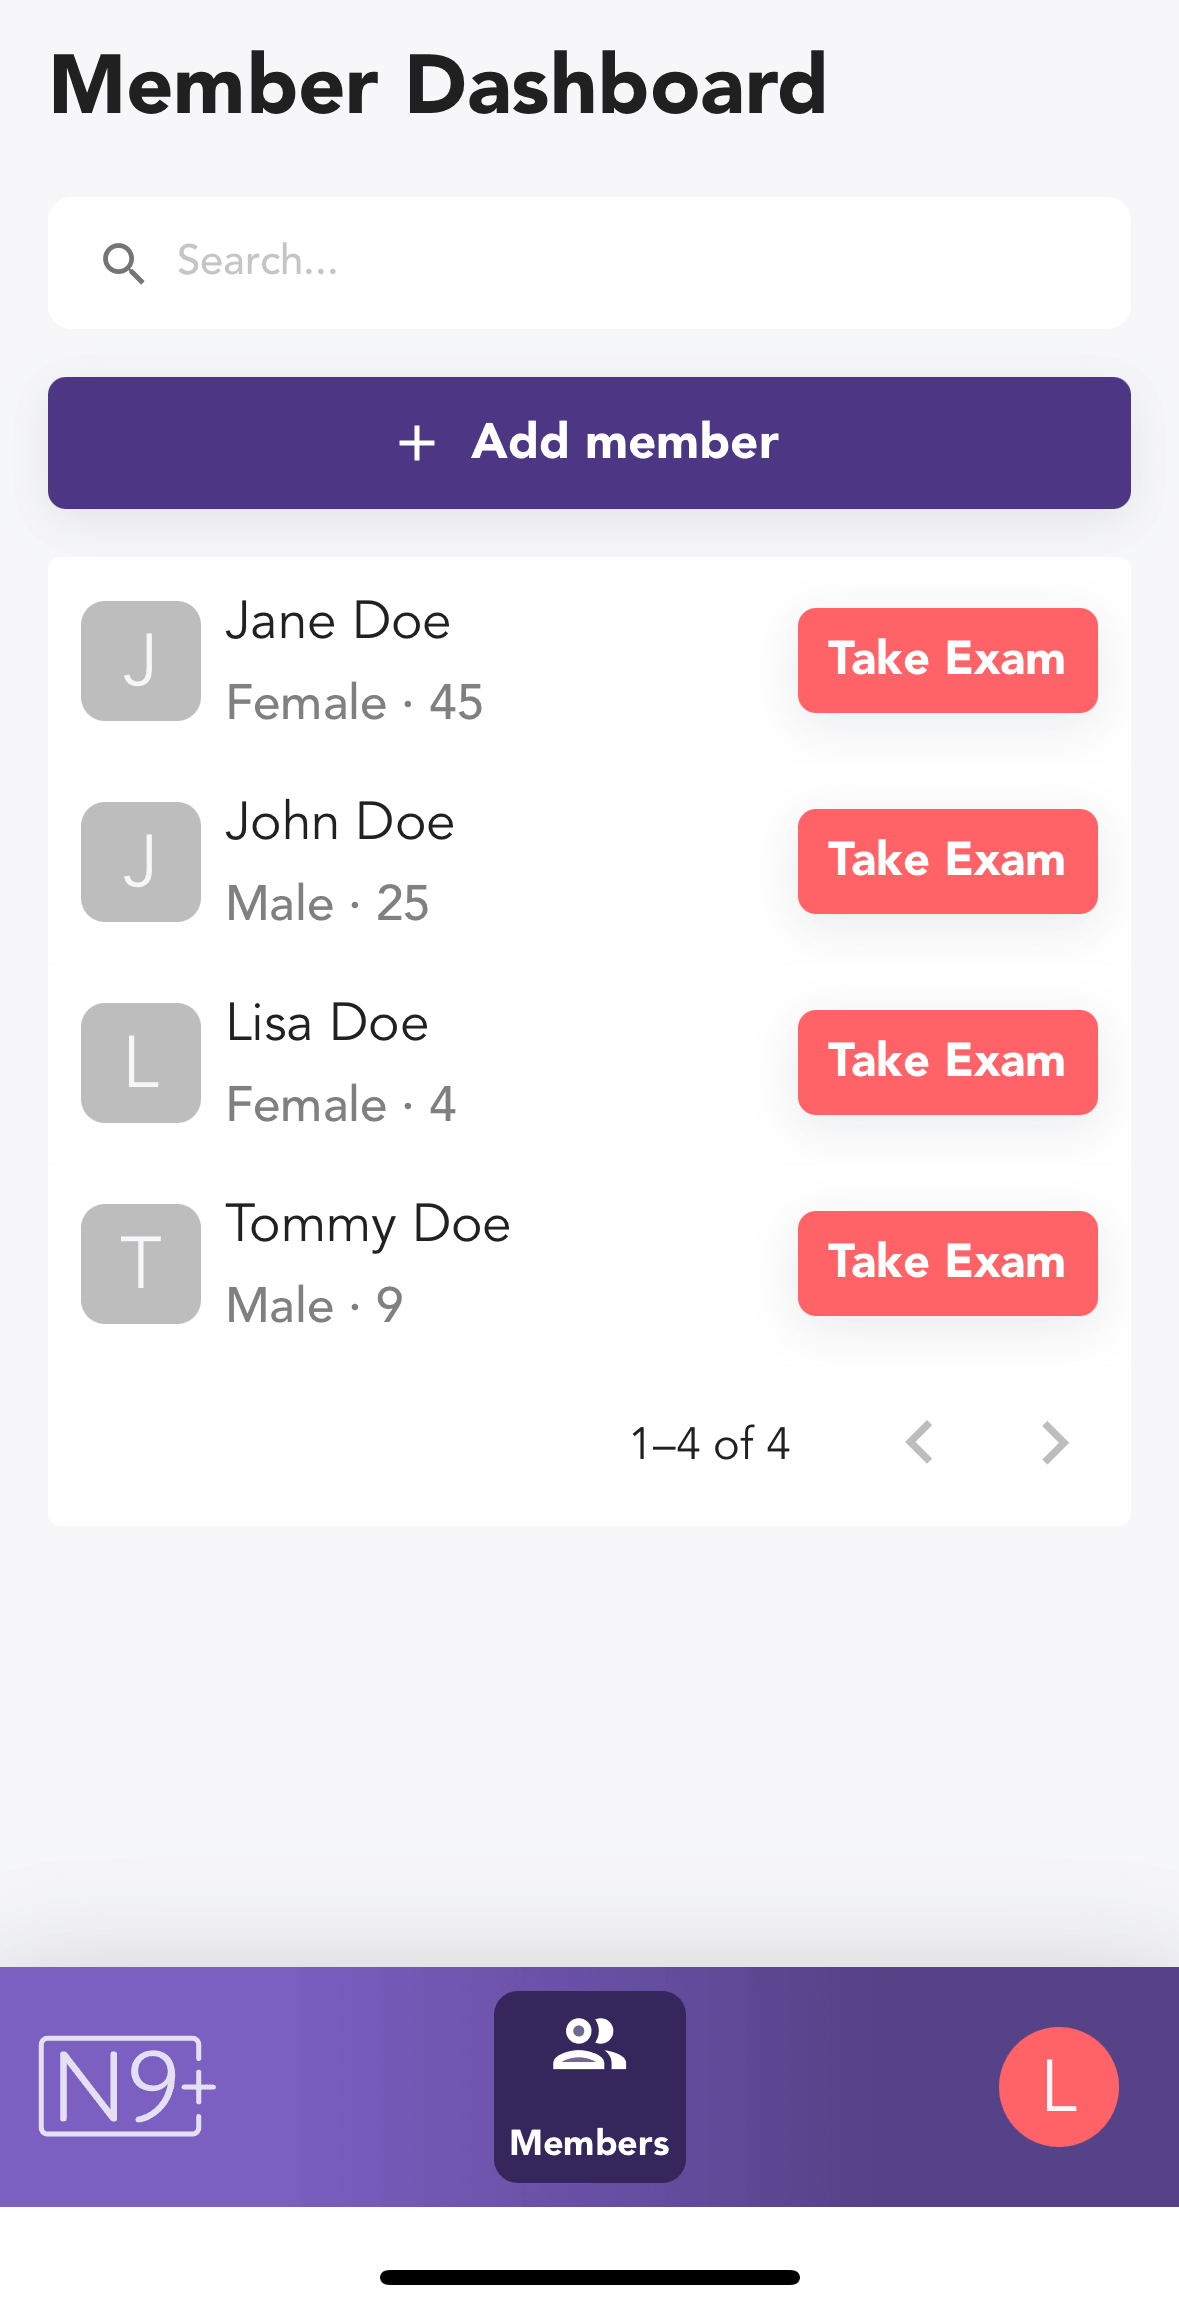
Choose the patient from the Member Dashboard and tap Take Exam.
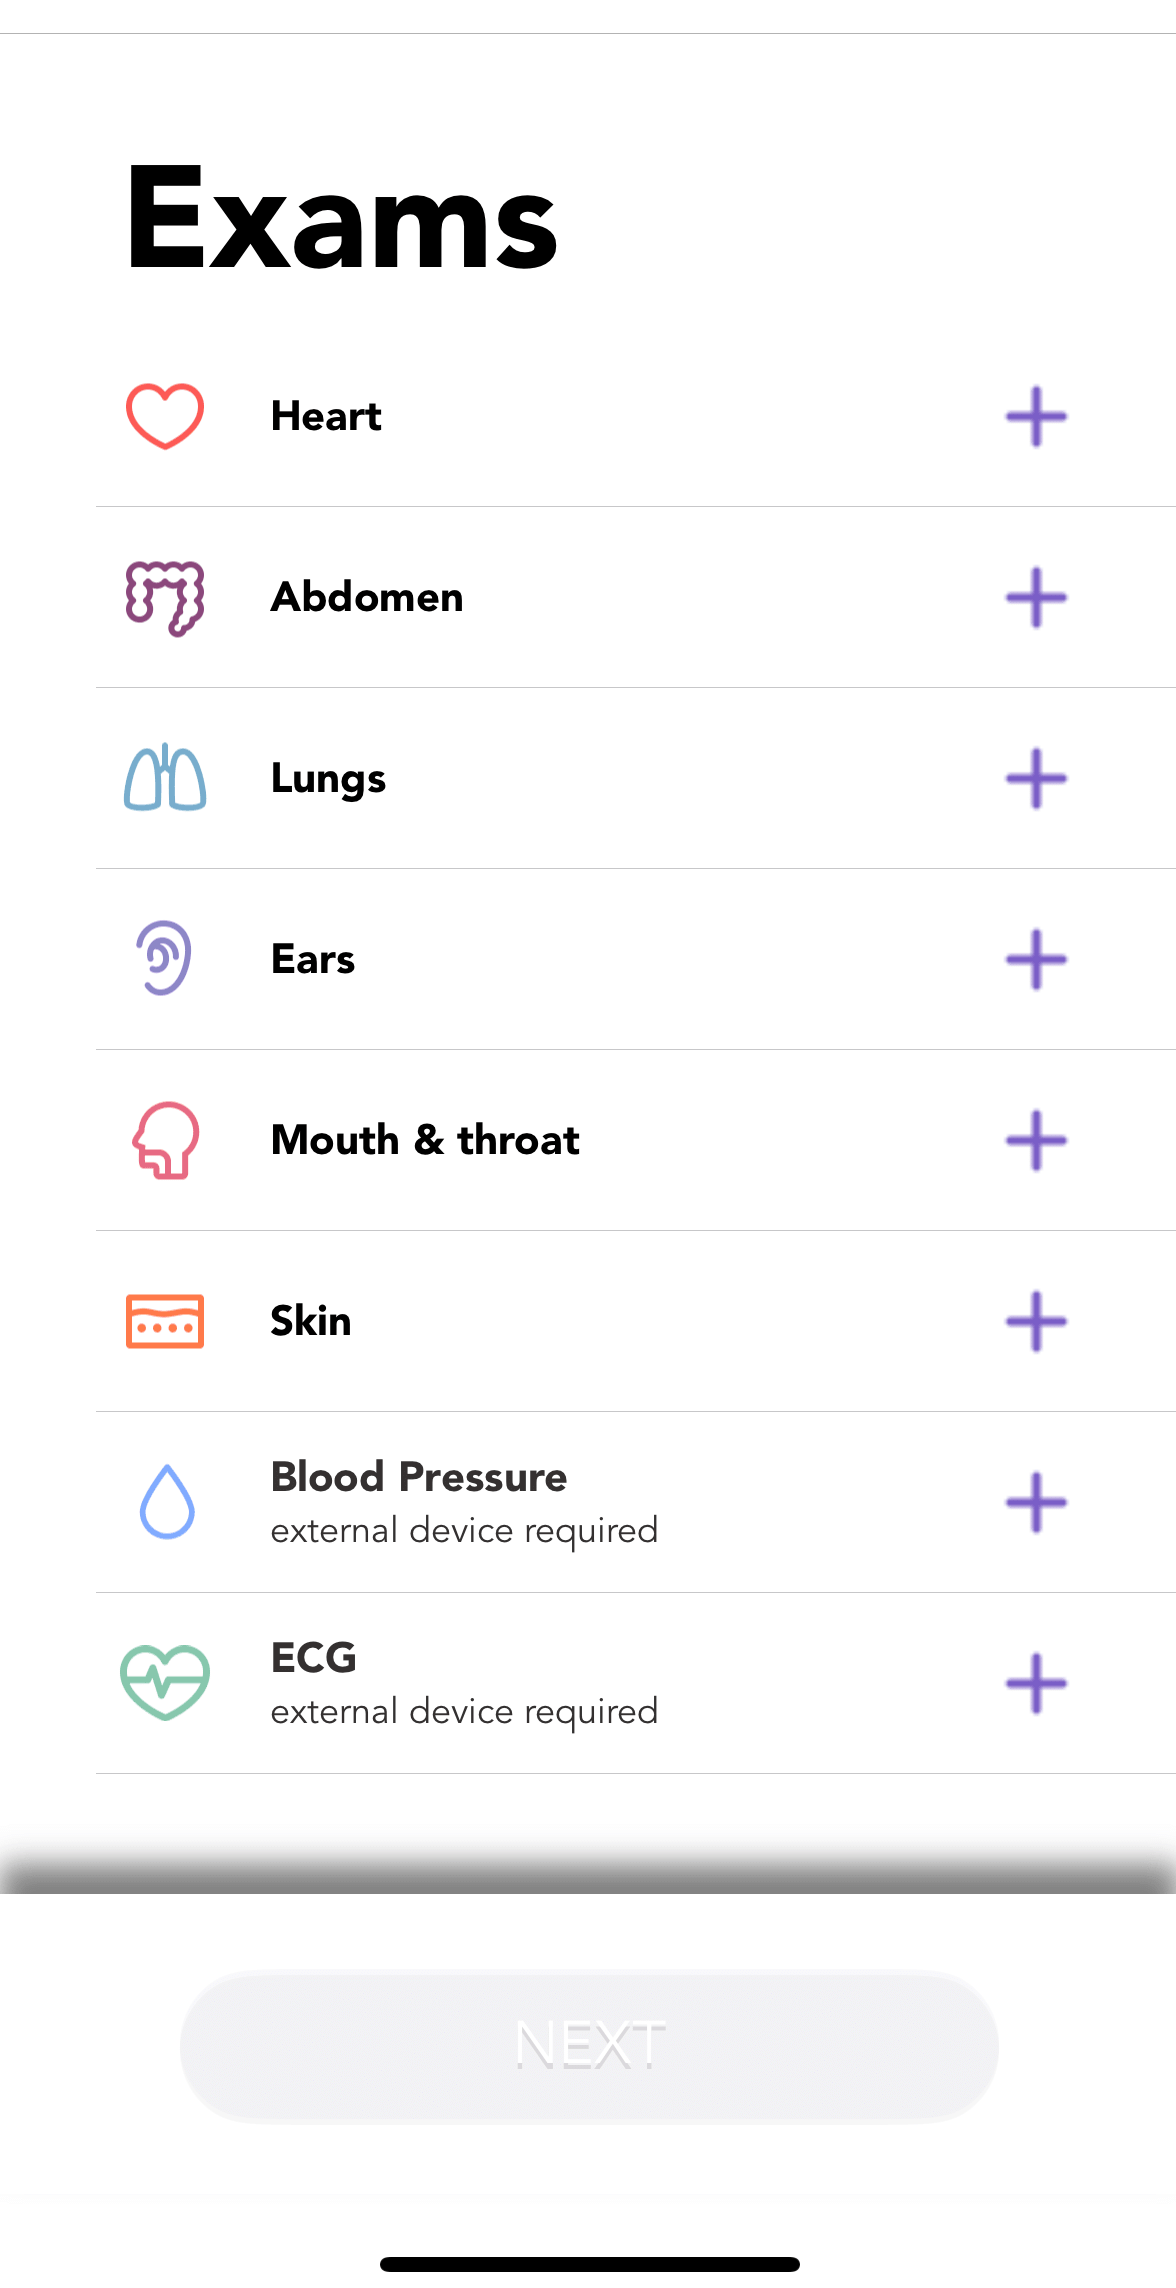
Select Skin from the exam list.
Review the app guidance and start the skin exam.
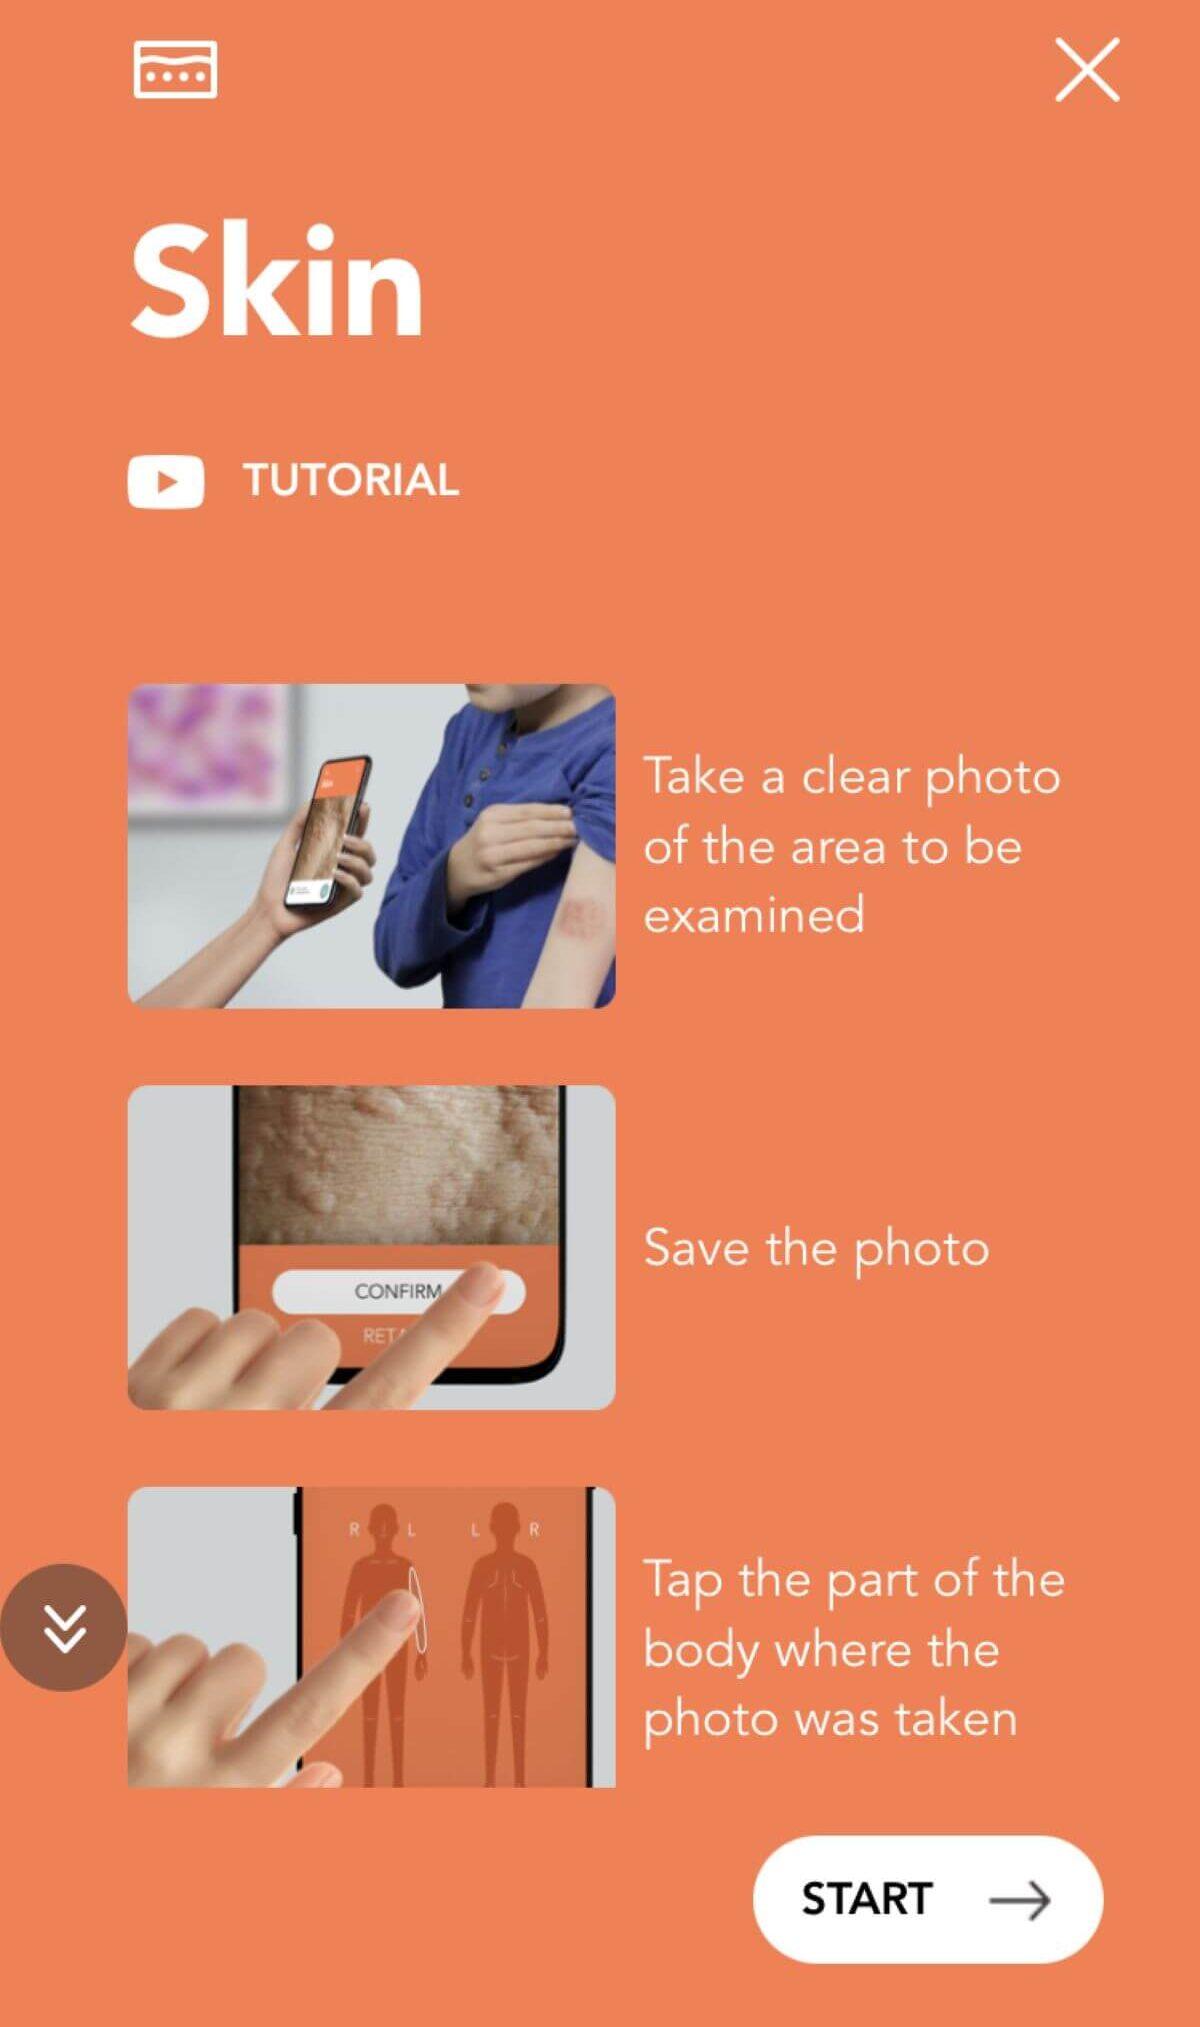
Take a focused photo with the phone camera or select an appropriate image from the phone gallery.
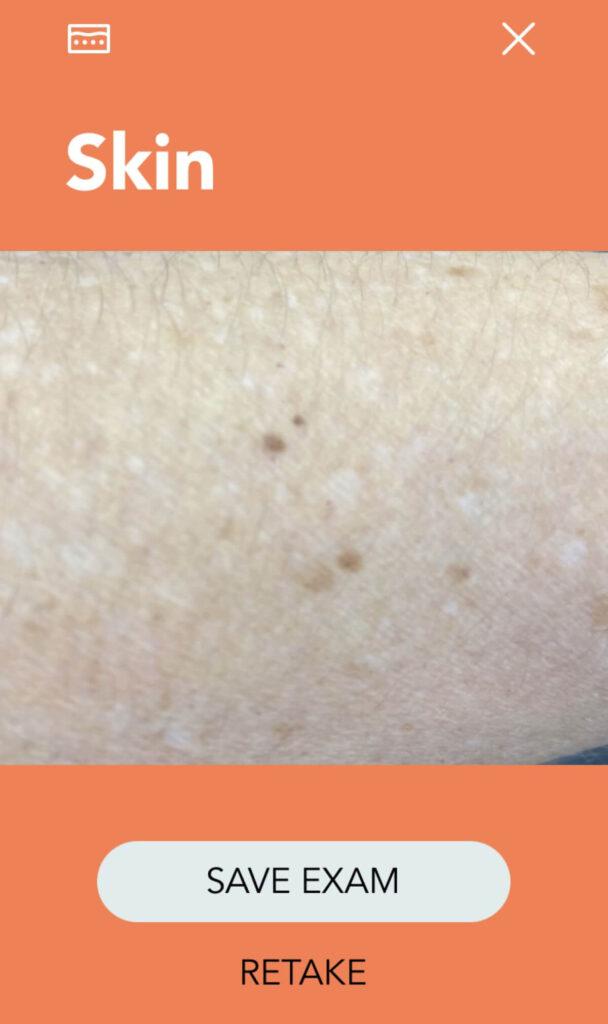
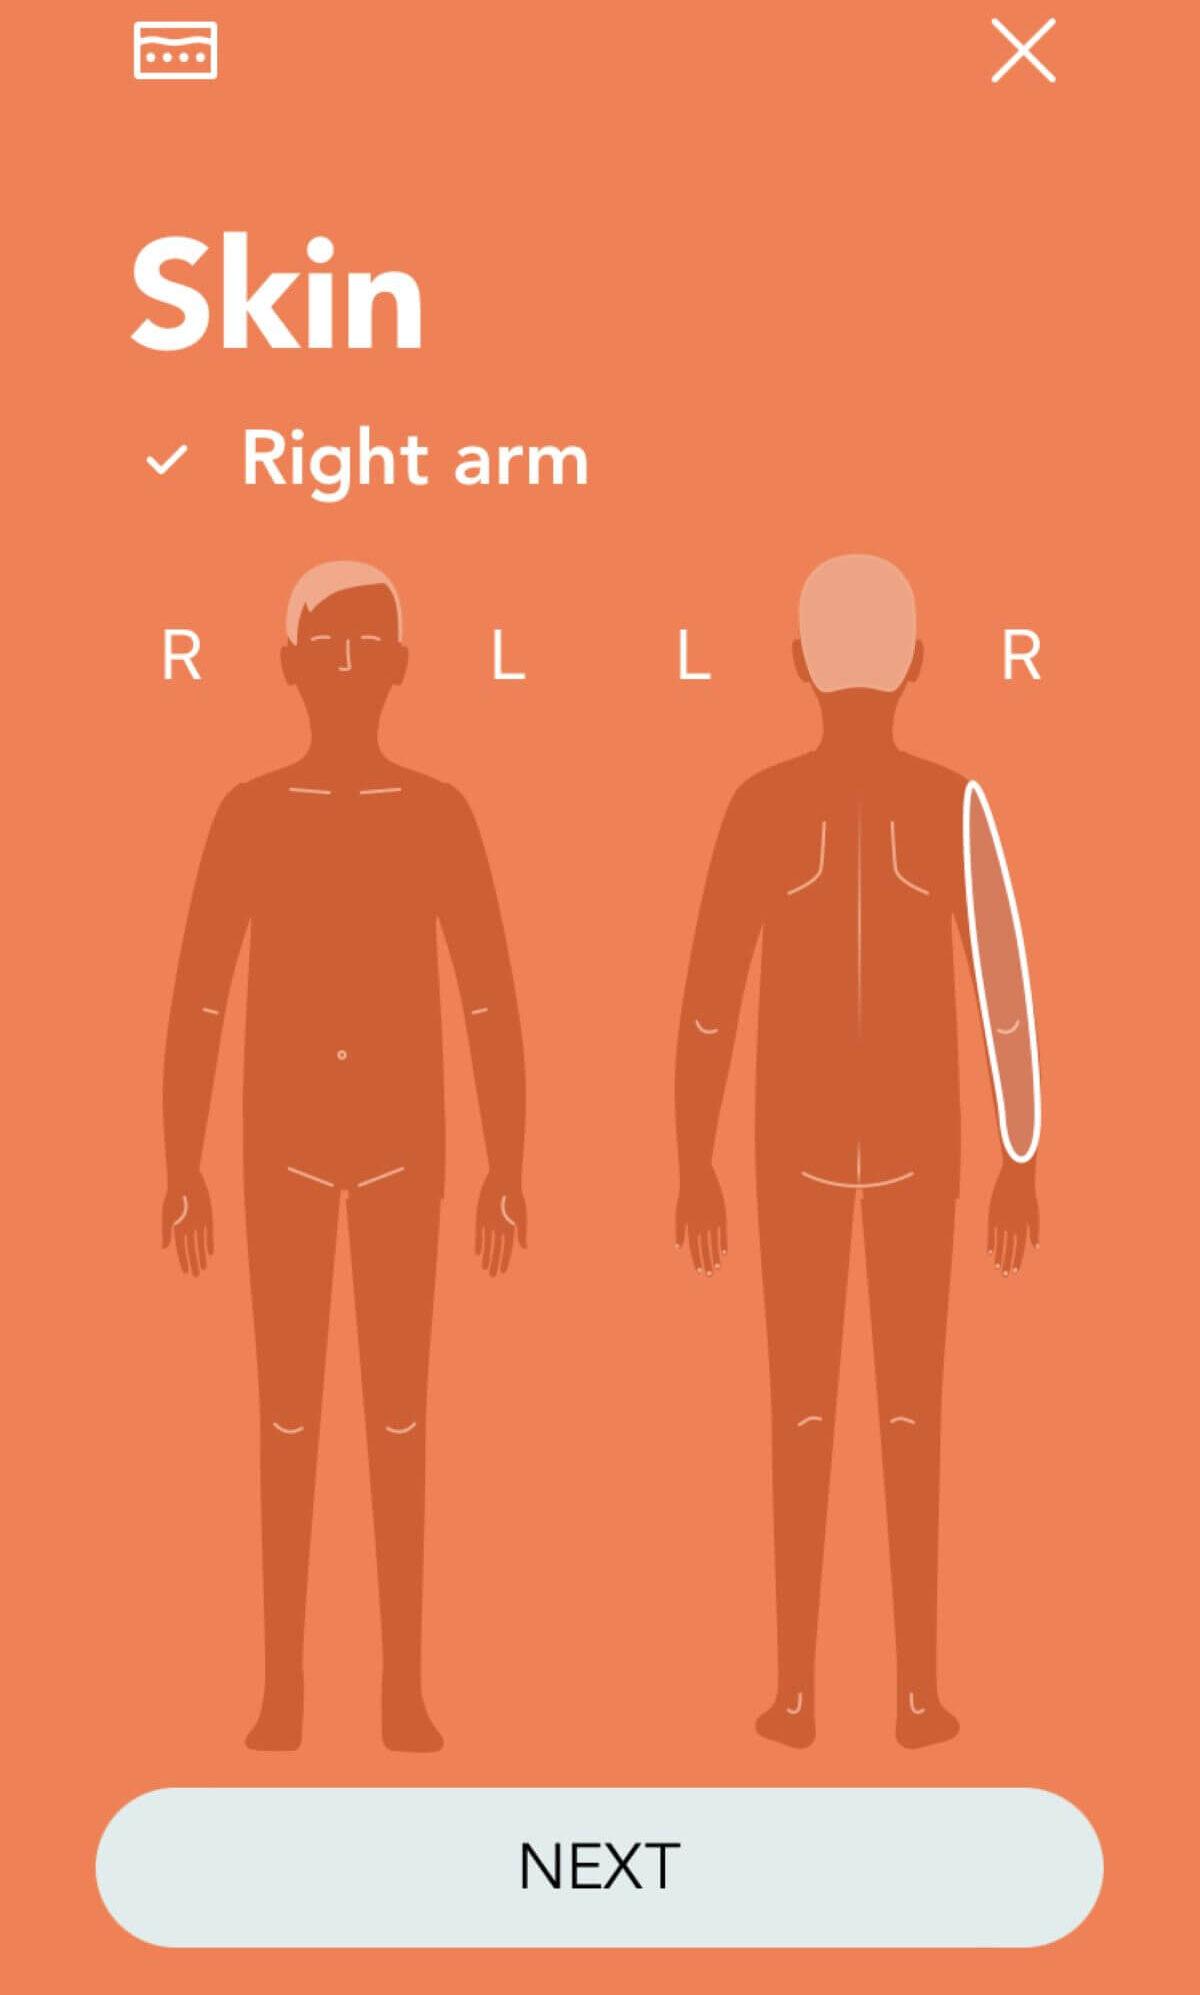
Identify the body location represented in the image and continue.
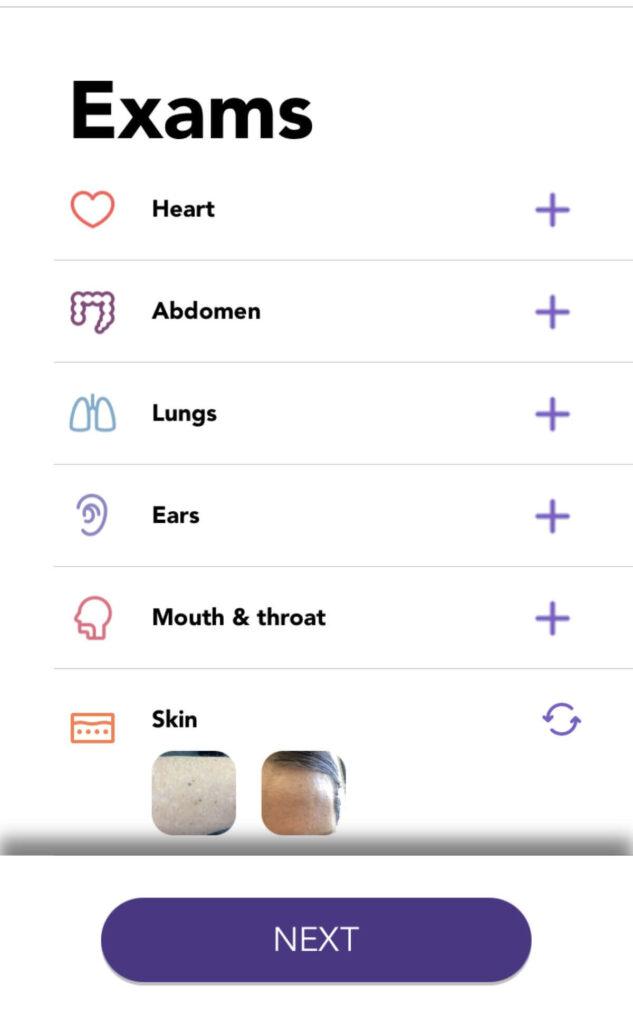
Add additional photos when useful, then save the exam.
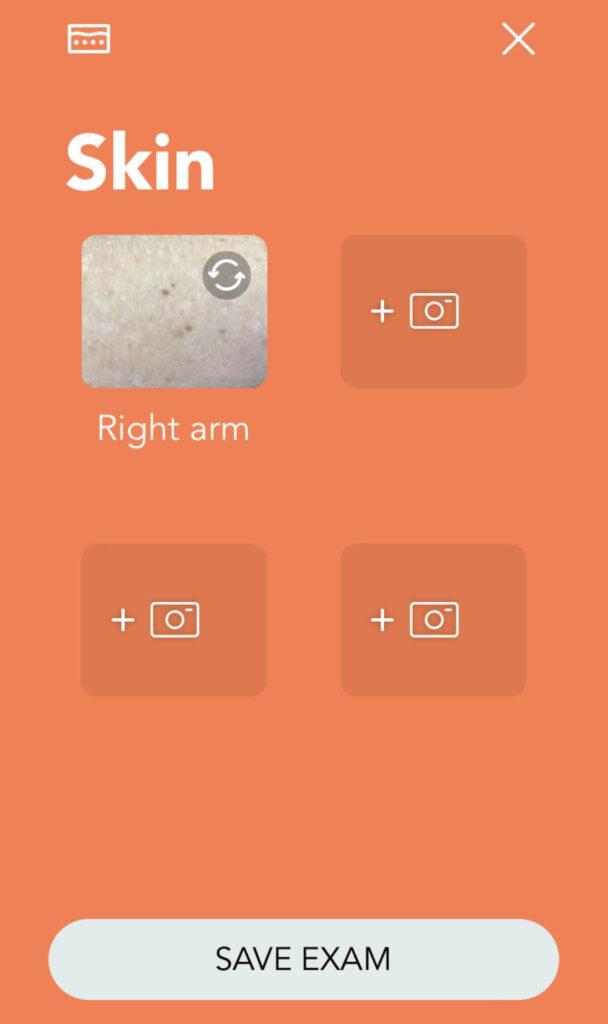
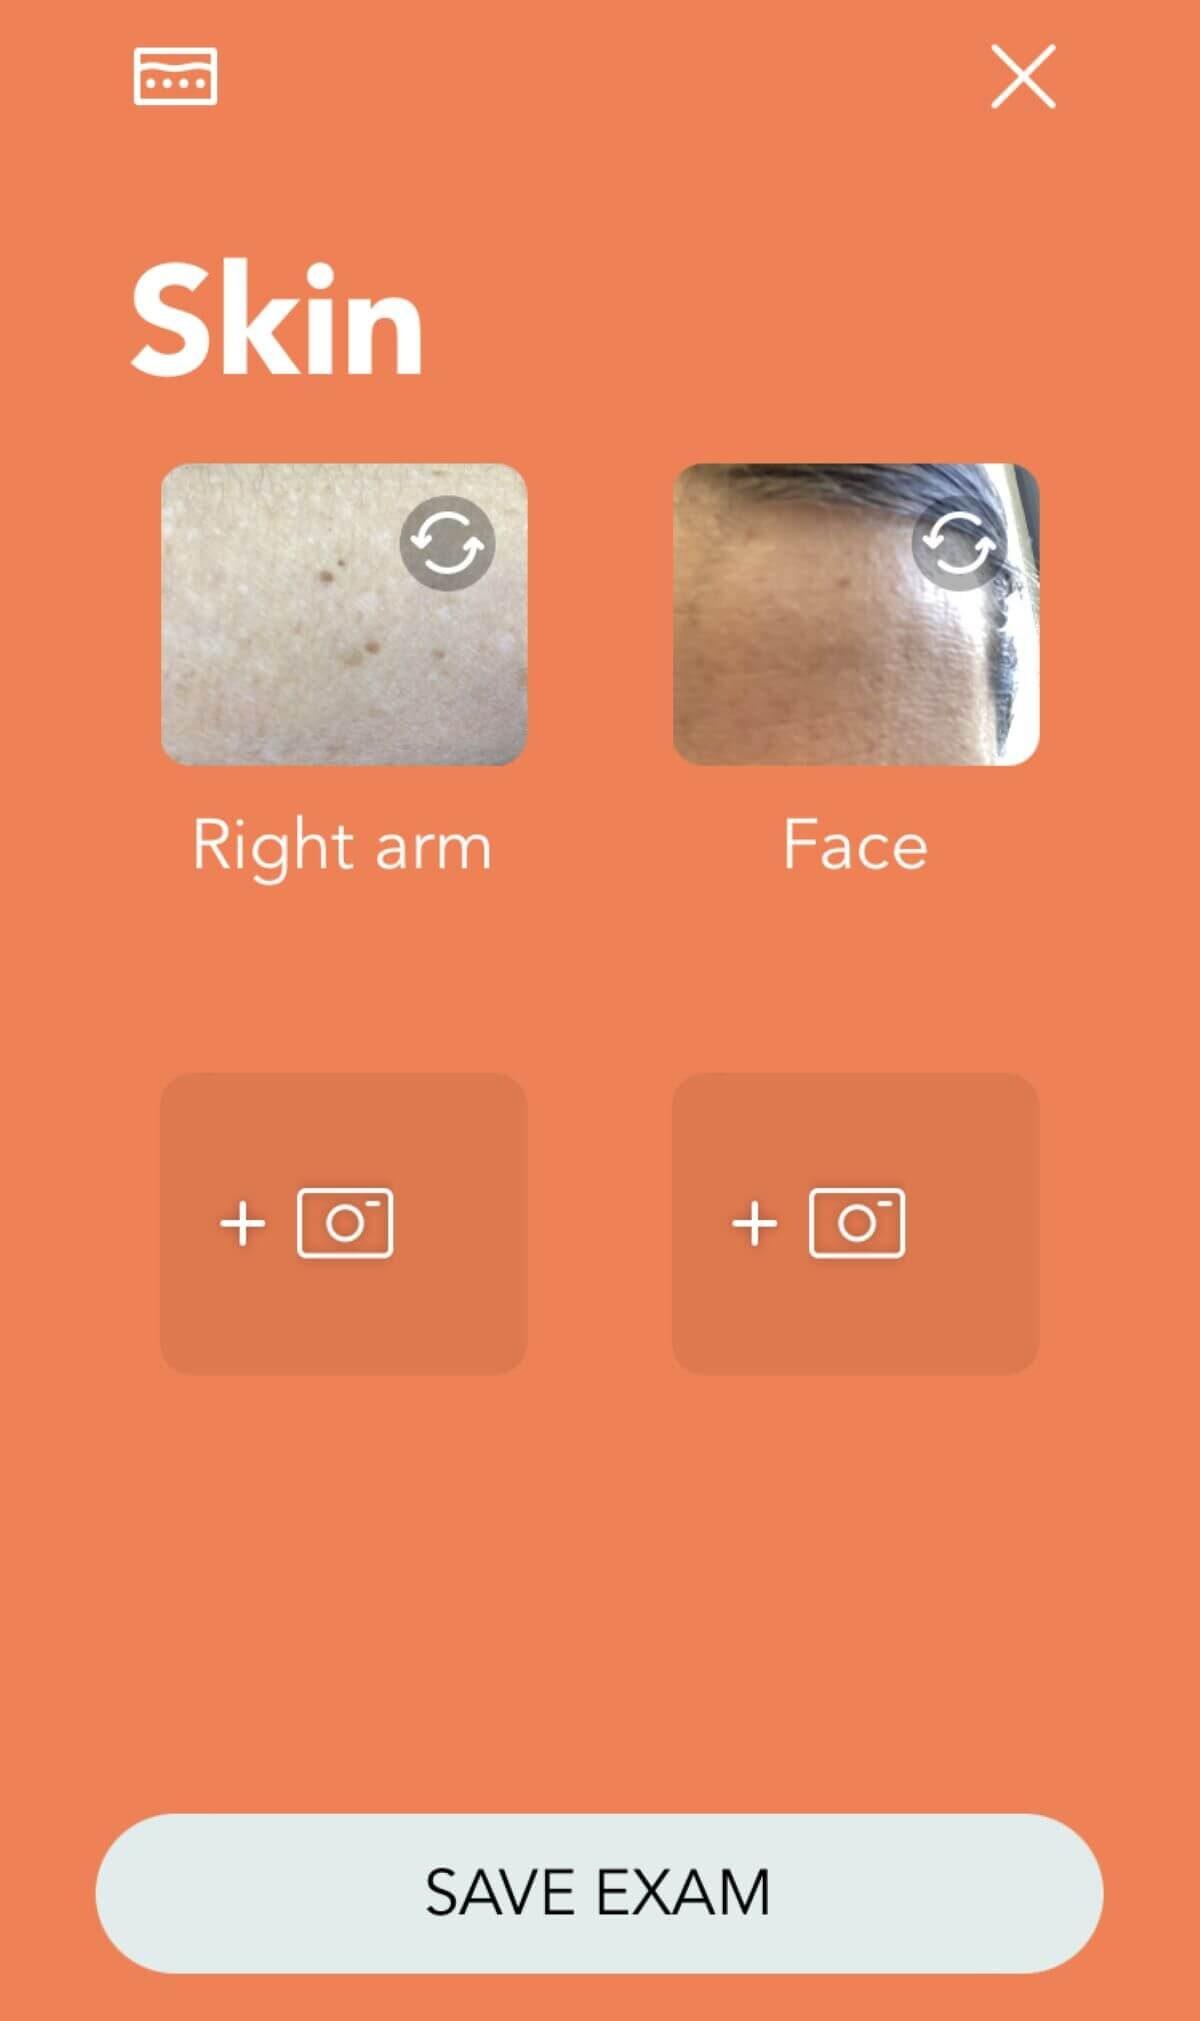
Verify the saved skin images in the exam list.